Steeling Guide
KNIFE GRIP:
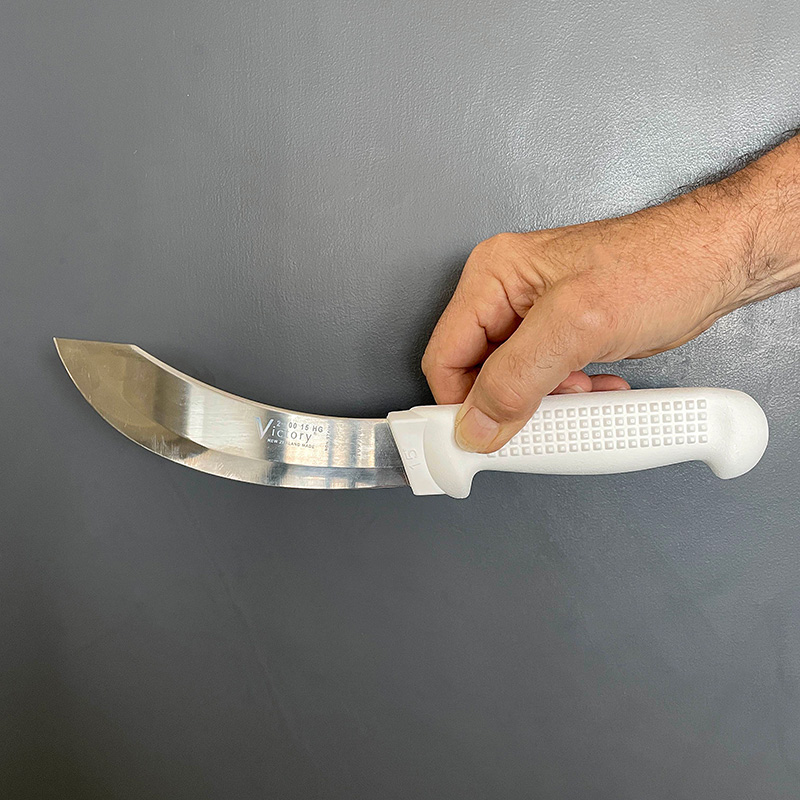
Pick the knife up at the heel end (bolster) and place your thumb and forefinger on either side of the handle.

The butt of the knife should sit in the groove at the base of your palm when you turn your hand over - palm facing up.

Turn knife over as pictured, keep the knife blade in line with your arm.
STEEL GRIP:

Hold the steel as pictured, with the thumb tucked behind the thumb guard for safety. Place the steel handle in the centre of your hand.
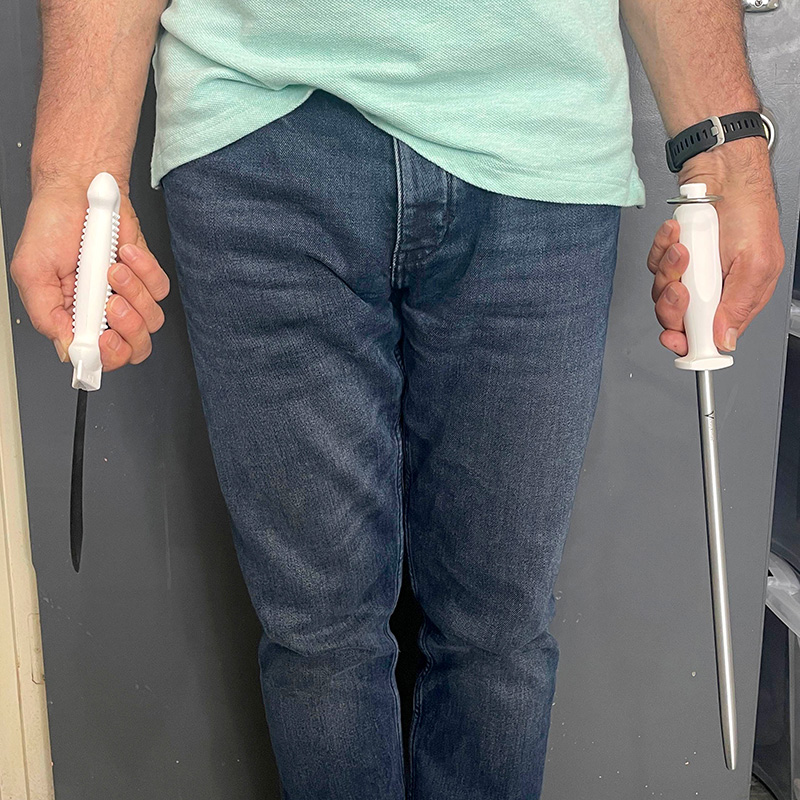
Check arm, steel and knife are square and in line.

Lift at elbows until arms, wrist, knife and steel line up.
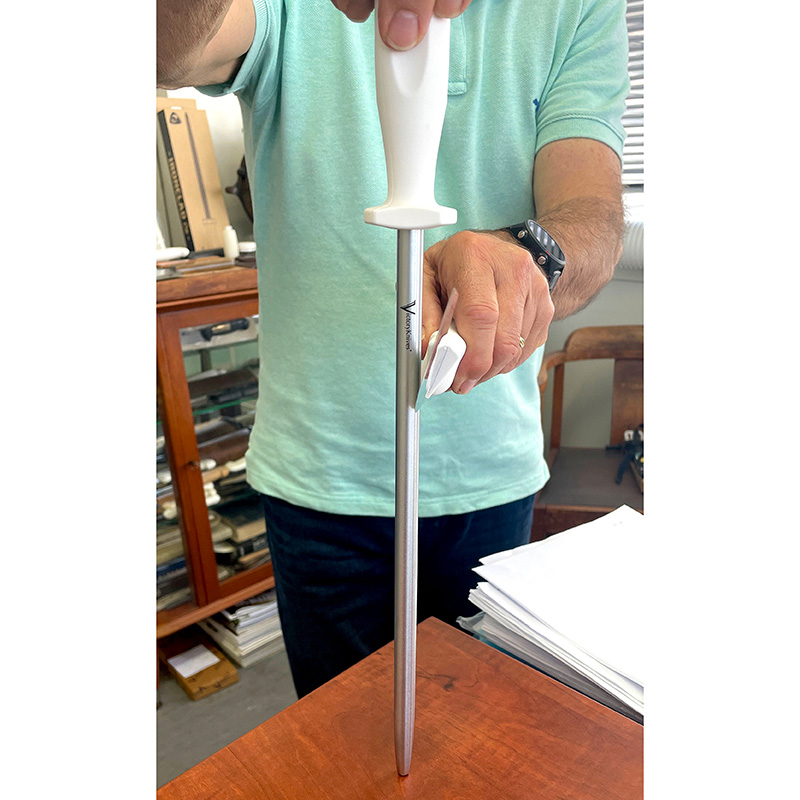
STEELING ANGLE:
Stand in front of a mirror and practice getting the steeling angle correct. 15-20 Degrees is the optimum angle.

Start with the angle of 15-20 degrees (target 15 degrees as per knife handle in image) when steeling the knife. Push the knife against the steel. Draw the knife down the steel from heel to tip maintaining equal pressure throughout.

You will feel the burrs and these will become smoother as you use the steel. You will hear a flicking/clicking sound the knife tip makes when the tip is steeled correctly on a full stroke.
Ensure the knife and wrist is locked straight and your arm is pivoting up and down at the elbow.
WHAT TO WATCH FOR:
Rotation of the knife or rolling inwards during the downward stroke is a common problem when steeling. This causes the cutting edge to lose contact with the steel.
If the angle is not correct to start with, the shoulder of the blade will be steeled instead of the cutting edge.
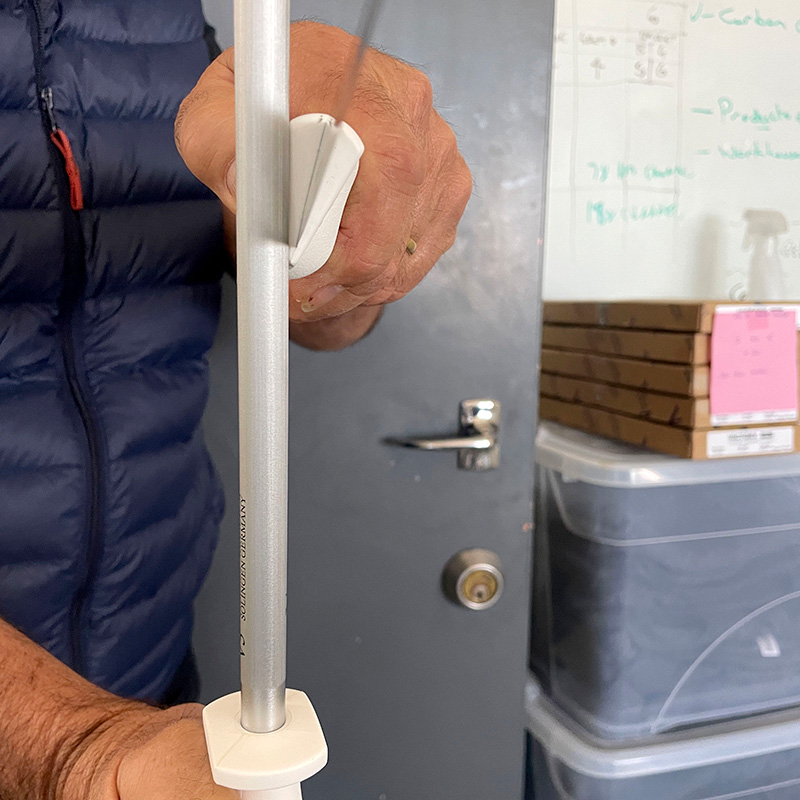
An easy way to start
Hold the steel upright with the tip into the bench, steel down with a 15 degree angle starting at the heel to the tip of the knife making sure you get the clicking sound at the end of the stroke.